Install, Configure, and Host a Custom Website on Apache2 Web Server, with Ubuntu, Using AWS EC2 Instance

I am an AWS and Azure Certified Cloud Practitioner.
AWS Solutions Architect
Introduction
Ubuntu provides the foundation and infrastructure necessary to run web server software like Apache2, enabling it to serve web content to clients over the internet.
We will be covering Installing, Configuring, and Hosting a Custom Website on Apache2 Web Server, with Ubuntu, Using AWS EC2 Instance.
What you will need for this Hands-on
•AWS management console
•AWS EC2 Instance (free tier) . You can check the pricing list here if you do not have a free-tier account
•GitHub account
Setting up of EC2 Instance
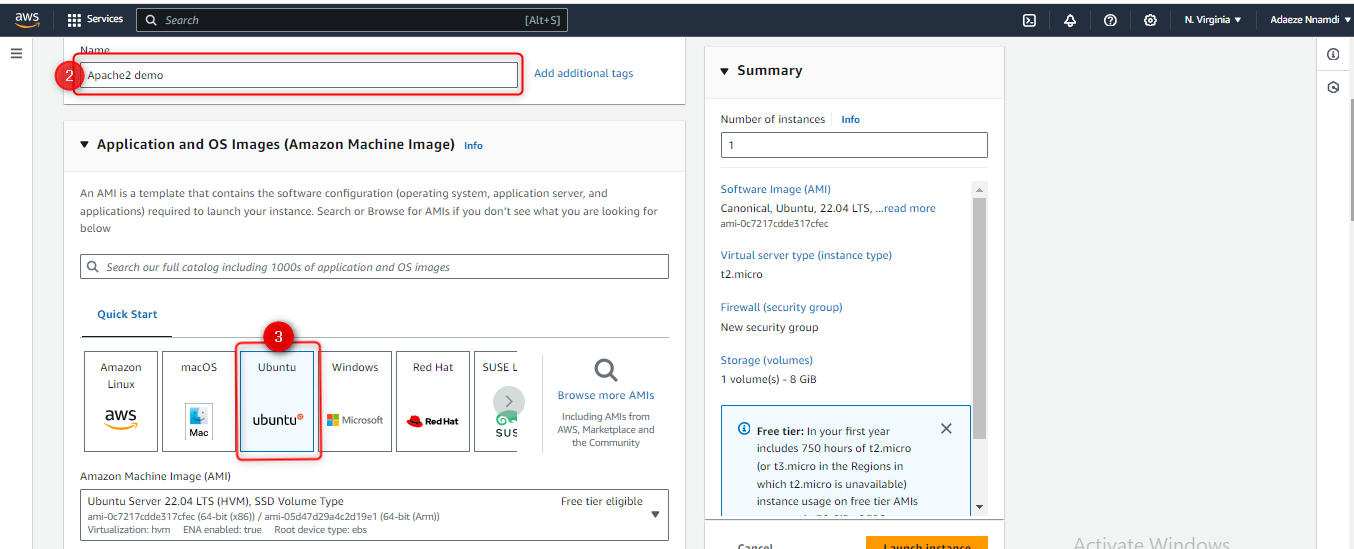
Log into your AWS management console to begin this hands-on. Navigate to the EC2 instance by searching for the service in the console and click on it so you can create an instance. Click on 'launch instance'. I have marked it in a rectangular shape. Please take note of every area I emphasized with a circle or rectangle in the course of explaining this project.

After clicking on the 'launch instance', name your instance and then proceed to pick your Operating system (AMI) as Ubuntu. Make sure it is the free trier just like my screenshot so you do not incur costs while trying to set up.
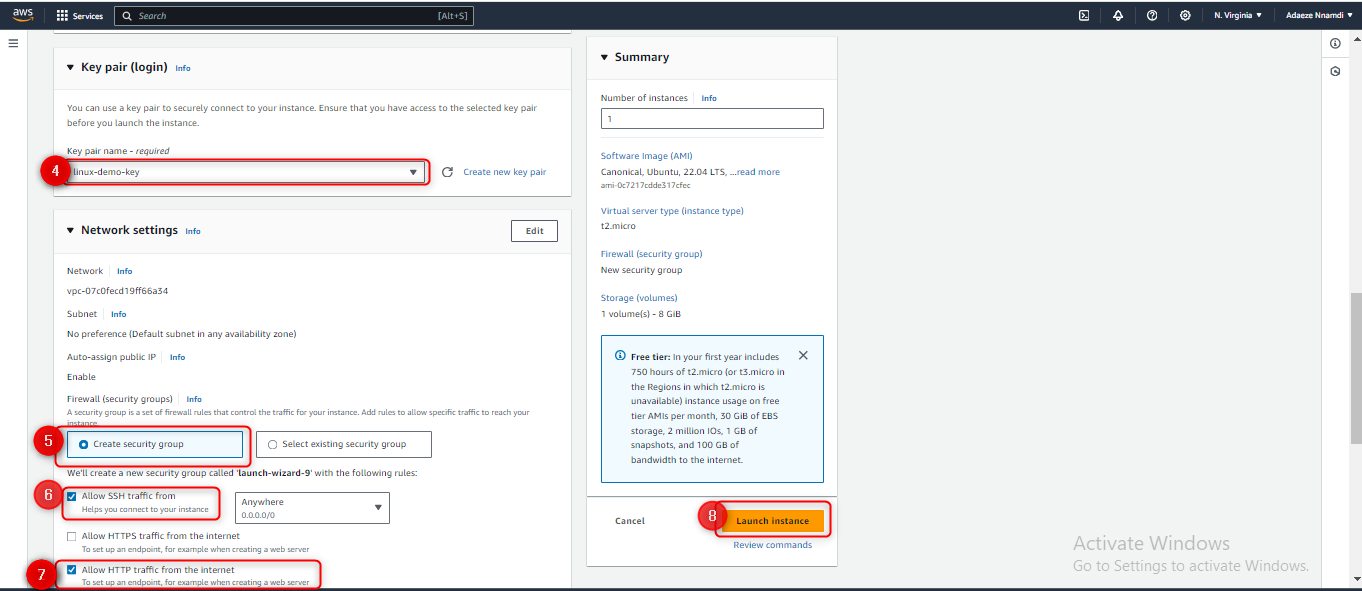
Proceed to create a key pair or use an existing key pair like I did. The key pair is used for secure SSH (Secure Shell) access to the instance. Scroll down to the security group and allow SSH traffic and HTTP traffic. I am emphasizing this because when I attempted this task severally, I kept getting errors when I tried to load my Apache2 on my web. This was because I did not allow for HTTP in my security group. No way that was going to work because enabling HTTP in your security group is crucial for ensuring that your web server can effectively communicate with clients and provide access to your online content and services in a secure and efficient manner. Go ahead to launch your instance.
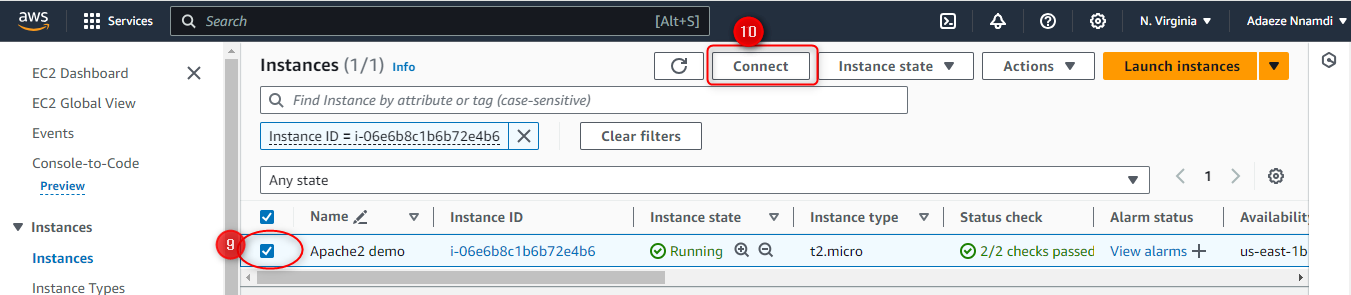
After the instance created shows the running state, click on the check box, then proceed to click on connect.
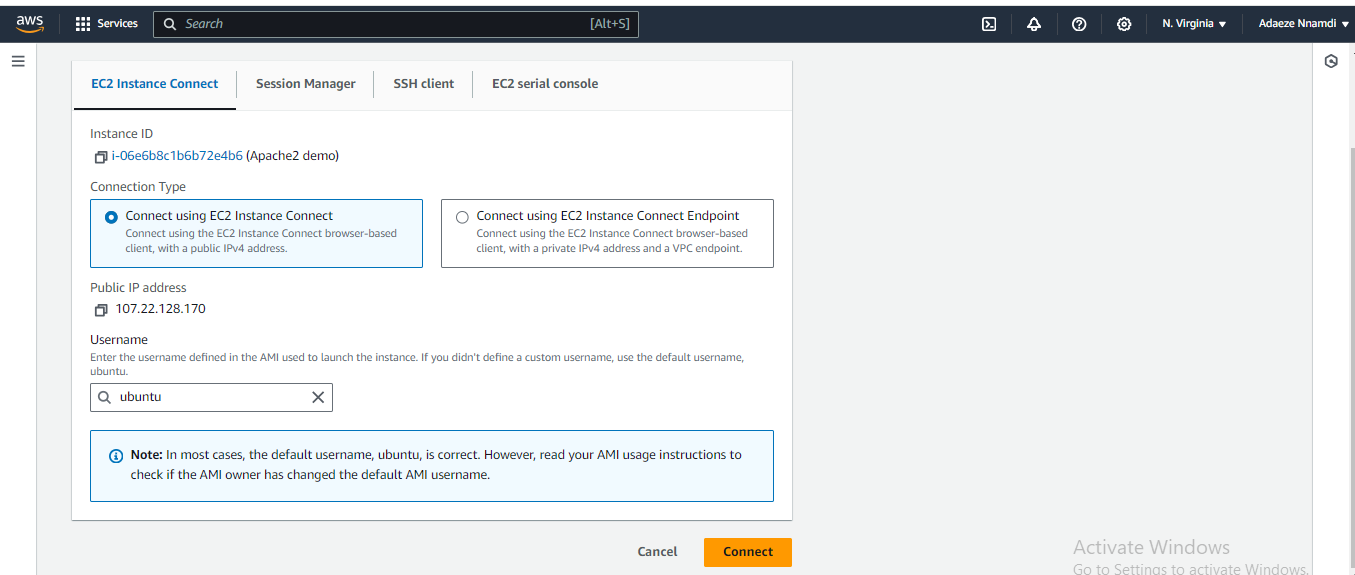
Go ahead to "connect using the Instance Connect". Click on the orange button saying "Connect". You will be taken to a terminal.
Installing Apache2
One of the most extensively used open-source web servers in the world is Apache2, sometimes known as Apache HTTP Server or just Apache. The internet can receive web content thanks to Apache2. It is a well-liked option for hosting websites and web applications because of its great versatility, scalability, and customization. Web apps and dynamic websites are frequently made with Apache2. It is a reliable option for companies, organizations, and site hosts all around the world.
Steps:
Run the command
sudo apt updateon your terminal to check for new updates. It should look like what is in the screenshot below.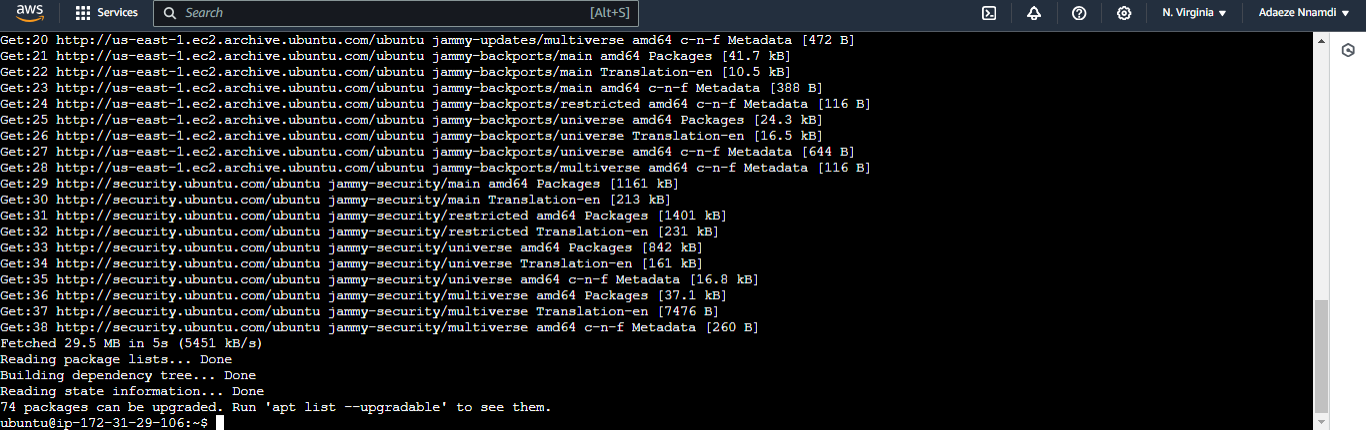
Proceed to install Apache by running
sudo apt install apache2command. You will see "Do you want to continue? [Y/n]". Type Y and press enter on your keyboard. You should see something like what is in the screenshot below. Copy the circled Public IP address and run it on your browser.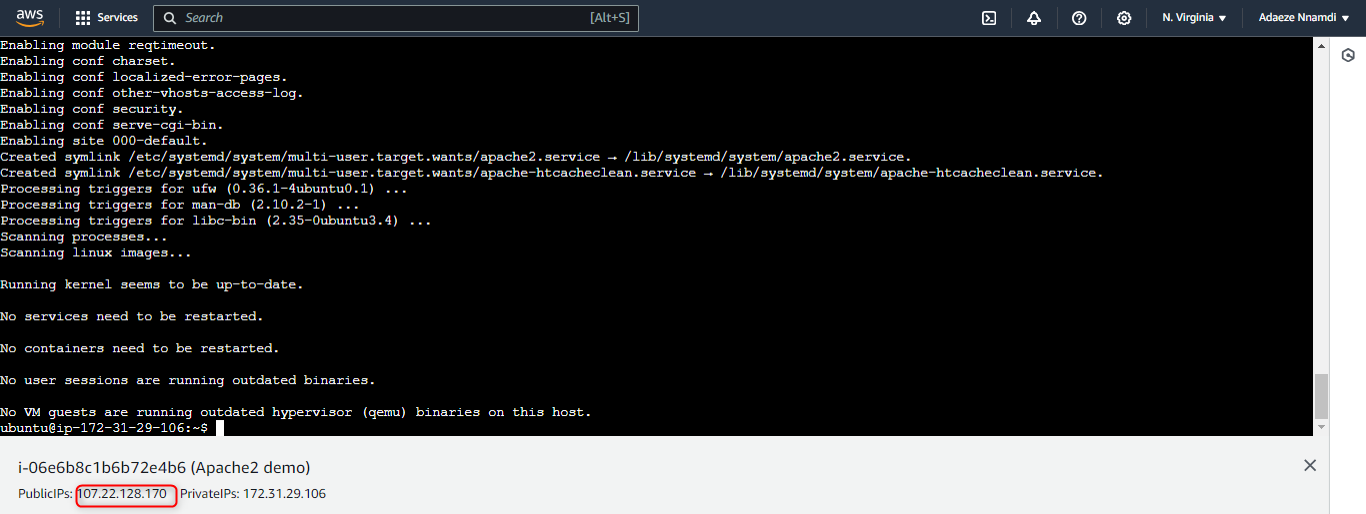
Boom! You should have this page on your web after running your own unique Public IP address. Your IP address is not expected to look like mine. You would have your own unique address.

Hosting Custom Website on Apache2 Web Server.
Install git on your terminal first by running this command
sudo apt install git. You should have something like what is in the screenshot below. We are installing git so that we use it to clone some codes from my GitHub repository that we will use as our custom website. You can go ahead and click on the link and use it for this demonstration.
Create a folder next and name it whatever you want using the command
mkdir 'foldername', for examplemkdir adaeze. This is the folder we will be putting our cloned git repository. Change your directory to the new folder created using thecdcommand. Something likecd adaezesince 'adaeze' is the directory/folder I created.
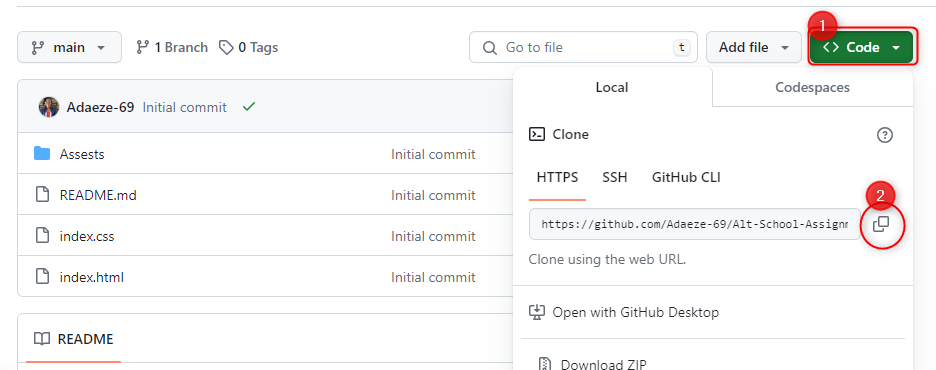
Get any git repository with codes for a website or you can use mine. In the repository, click on the circled part that says 'code' colored green. Then copy to the clipboard using the button I circled as number 2.
Go back to your terminal to clone the repository. the
git clonecommand is an essential tool for getting a local copy of a remote Git repository. So it should look like thisgit clone https://github.com/Adaeze-69/Alt-School-Assignment-3.git
Change the directory into the cloned repository. The command to run is
cd Alt-School-Assignment-3/.This is the directory where all your codes are found. Your HTML and CSS codes you cloned. Remember that this directory is inside the 'adaeze' directory which has been your present working directory (pwd). See the screenshot below to understand better.
Run
lscommand to see the list of files in the cloned directory.
Create another directory that will host your website. It should be like this:
sudo mkdir /var/www/newfilefolder. Mine looks like this:sudo mkdir /var/www/adaezennamdi.Next is to copy the content of everything in the present directory that you are. For me,
/adaeze/Alt-School-Assignment-3is my present working directory, just like the screenshot. The '*' is called a wild card which copies everything in that directory.
Next is to
cdinto the new file folder you created andlsto be sure all the contents you copied are present there.
Create a new 'conf' file with the command
touchwhere you will move the default conf file into
Copy contents of everything in the default conf file into the newly created 'conf' file which in my case is 'adaezennamdi.conf'. It should look like this
sudo cp /etc/apache2/sites-available/000-default.conf /etc/apache2/sites-available/adaezennamdi.conf.
Go ahead to edit the new 'conf' file you created using the command
sudo nano /etc/apache2/sites-available/adaezennamdi.conf
When you get into the nano editor, scroll down to DocumentRoot. Where you see 'adaezennamdi', you will see 'html'. Delete the 'html' and write the new name you gave to your folder you created in the
/var/www/foldername. Mine is 'adaezennamdi' and that is why you see it there. After that, press 'ctrl O' on your keyboard to save, press the 'Enter' key, and then 'ctrl X' to exit the editor.
Enable your created custom new conf file with the command
sudo a2ensite adaezennamdi.conf. Please, remember to use your own 'conf file' name you created and not mine.
Disable the 'default conf file'
000-default.confwhose contents were copied. The command should look like thissudo a2dissite 000-default.conf. If you do not disable this, your site will not load because this will still be running. Disabling it is necessary as this process will allow your enabled "Conf" from the previous steps to run efficiently.
At this point, you will need to reload your apache2 web server. To do that, type
sudo systemctl reload apache2into your terminal.
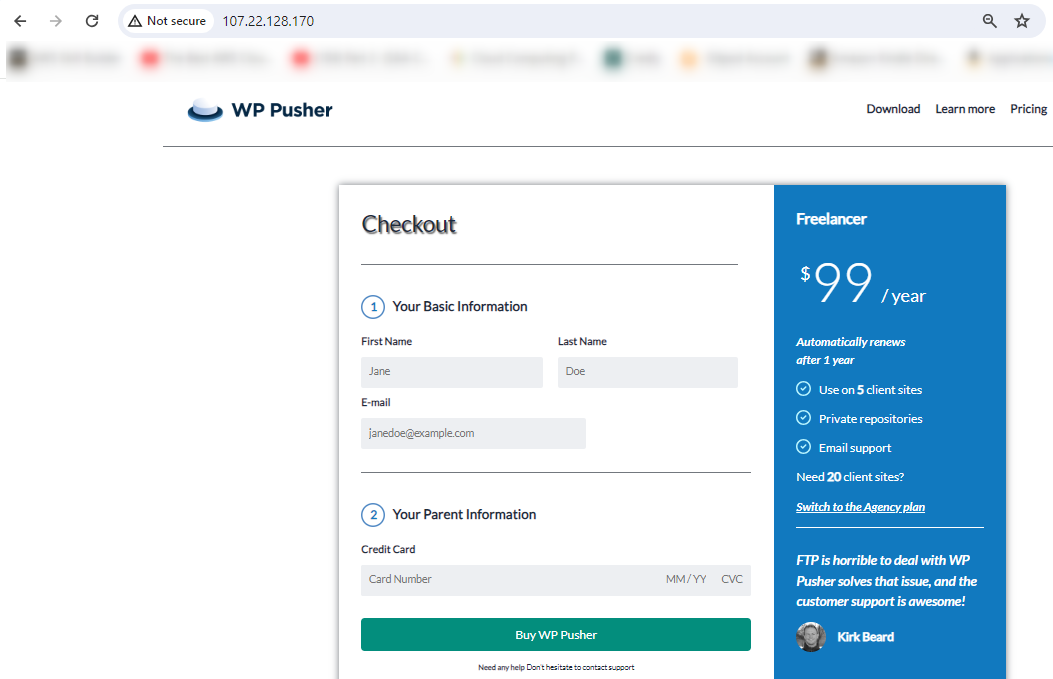
On your web browser, revisit the Apache2 web server page (refer to step 4), process to reload it, and confirm if you have a similar snapshot with the image below (the image will be exact if you cloned my repository).
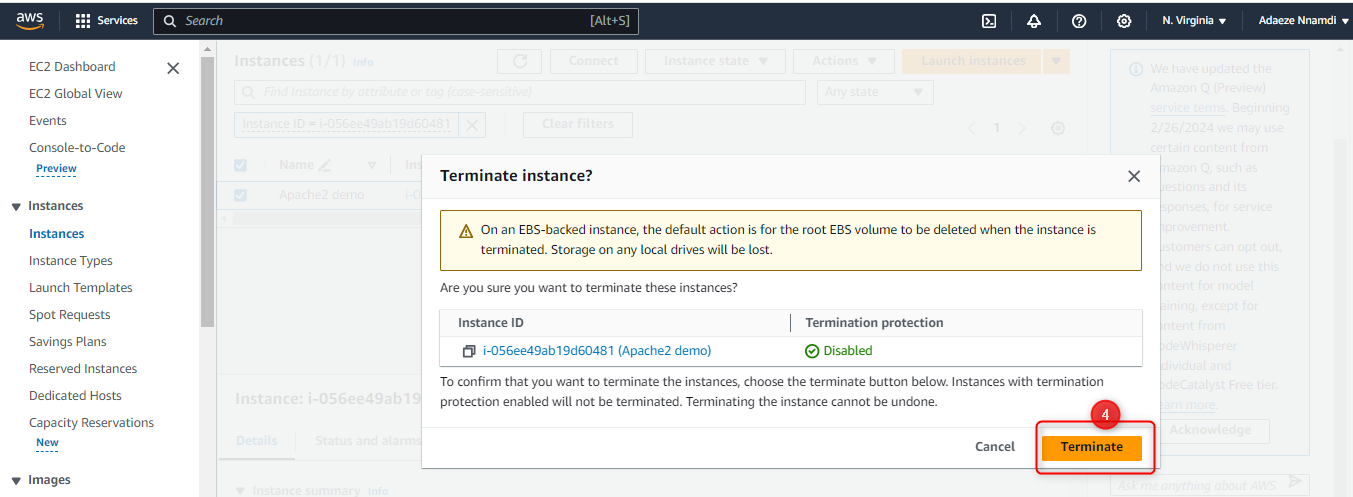
Remember to terminate your AWS EC2 instance when you get to this point. Do not stop it but terminate. If you stop it, you will still incur costs from the Elastic Block Storage (EBS) Volume running with it. Terminate the EC2 instance. From the screenshots below, tick the checkbox, then click on the drop-down 'instance state' . You will see 'Terminate instance'. Click on it and it will redirect you to the page on the second screenshot. Click on 'Terminate' that is circled, and that is all.

Conclusion
Congratulations on completing the guide to Installing, Configuring, and Hosting a Custom Website on Apache2 Web Server, with Ubuntu, Using AWS EC2 Instance. While the process may have been challenging, your perseverance paid off. Remember, if you encounter challenges, seek help from documentation or online resources. You can also reach out to me on this platform too.
I hope you found value in this article and enjoyed the journey as much as I did creating it. Your dedication enriches our community. Keep exploring and innovating. Here's to your continued success!
Feel free to share your feedback and experiences. Best wishes on your future endeavors!


